GitHub Page Setup
Complete the 5 steps listed on https://pages.github.com/
Use Jekyll to Build a Blog
In your Mac/Linux terminal
# Install Jekyll and Bundler gems through RubyGems
$ sudo gem install jekyll bundler
In your local GITHUB_USERNAME.github.io directory, run $ jekyll new blog to see how the blog files and structure look like in the blog/ folder
# Create a new Jekyll site at ./blog
$ jekyll new blog
 the default jekyll blog file structure after running the command above
# Change into your new directory
$ cd blog

# Build the site on the preview server
$ bundle exec jekyll serve

# Now browse http://localhost:4000
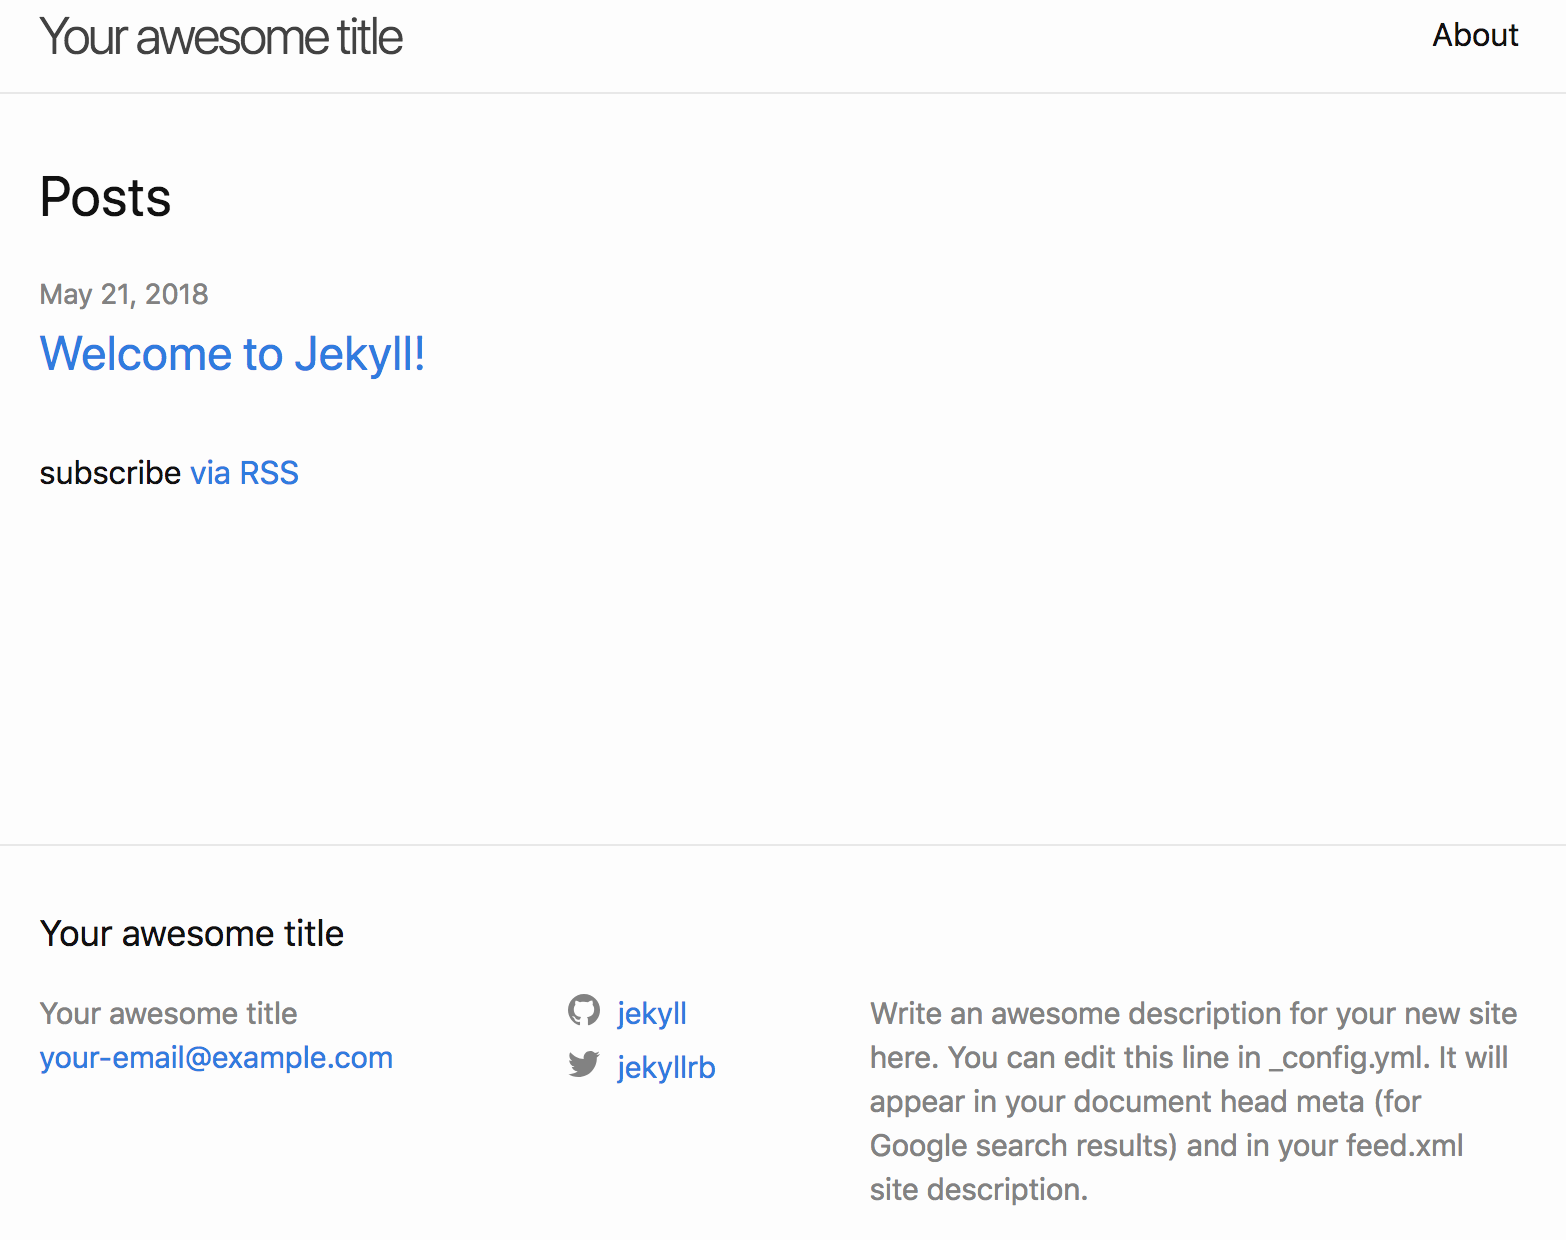
If the page on port 4000 looks like the screenshot below
Then you are good to stop the bundle exec process, remove the previous index.html file from GITHUB_USERNAME.github.io/ directory, copy everything from blog/ directory into GITHUB_USERNAME.github.io/, and do $ bundle exec jekyll serve again.
 source of the info in the section above is from here
Apply a Jekyll template
If you are lazy as I am, feel free to use Hux Blog Template which looked cool to me.
In your terminal, do
# Clone huxblog-boilerplate project
$ git clone https://github.com/Huxpro/huxblog-boilerplate.git

# Test if the sample site runs well
# (you can also test using $ jekyll serve, or $ jekyll serve --watch)
$ cd huxblog-boilerplate
$ jekyll server

# Copy all the files from cloned huxblog-boilerplate project into your blog directory
$ cp -r ./ ../GITHUB_USERNAME.github.io
You can now start tweaking your blog based on the documentation here as well as some bug fixing hints in my blog repo
Finally, happy blogging!